
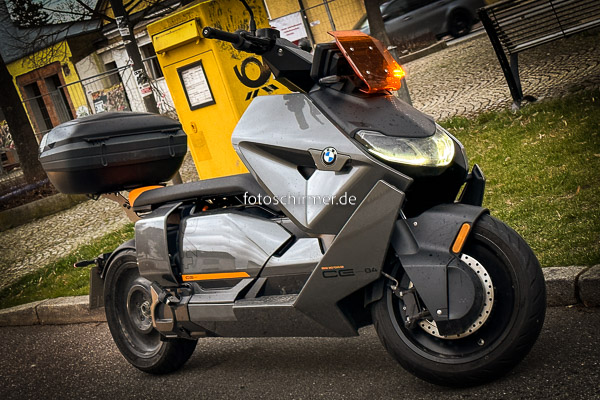
As storage is vital for an urban transport, I ordered the TopCase mount for my all electric BMW CE04 motorbike and the existing GIVI MAXIA 4 V56NNT. Mounting could have been a bit easier – specially as I ran into an issue which I could not solve, following the given instructions, but with a little change in sequence.
Maybe others also need some help here, so I share the mounting process in a bit more detail.
Parts used: (Facts)
- Motorbike: BMW CE04
- TopCase Mount: SR5142 (for Monolock/Monokey System)
- TopCase Plate: Givi M8 TopCase Kit black size 40 (containing screws)
- TopCase: GIVI V56NNT MAXIA 4 (owned that already from my BMW R1250GS) – fits 2 helmets easily
Mounting:
3 tools needed: Most important is a solid TORX driver for the original BMW screws, which take quite some force to get out (don’t even try with a hex wrench!!)
Be aware, that most screws are secured by thread lock fluid, which should be replaced if opened. Without the problem I had, the whole action shouldn’t take more than 30 Minutes.
Sorry for the „dirty“ bike – the weather conditions haven’t been ideal 😉
First we unscrew the 2 big screws at the back end of the seat, as mentioned use solid Torx tool. Following the manual from GIVI, we now add the short L-brackets with the massive iron distancers to the 2 holes:
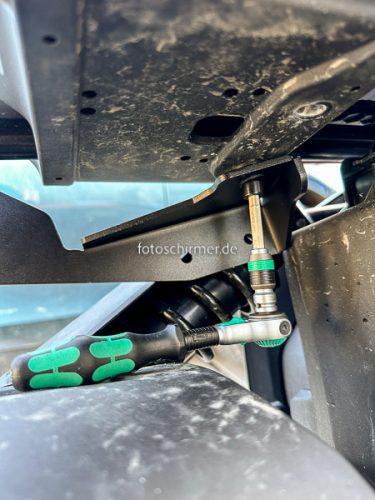
Now we unscrew the 2 Torx screws below the seat – ideally with a ratchet (else it takes for a while, as the screws are long and tight):
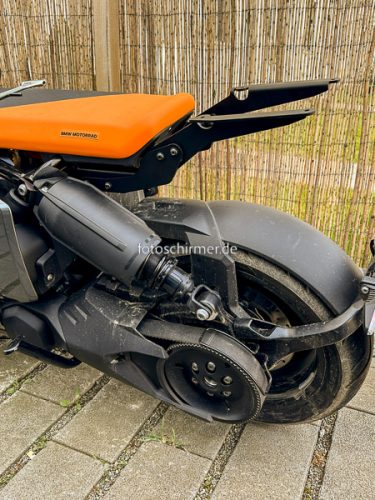
Now we fix the long mounts to the holes with the provided new GIVI screws (hex head):
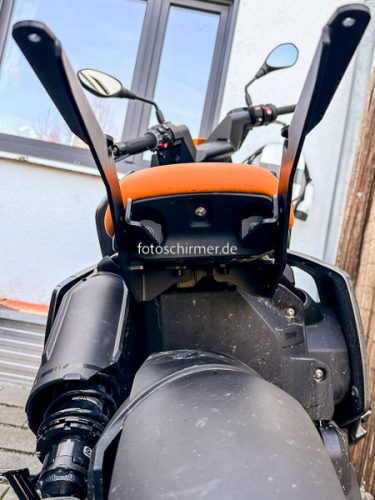
Looks great already – giving an idea, where the top case is positioned: BEHIND the SEAT (the original BMW solution puts the case on top of the seat, so only one person can ride along)
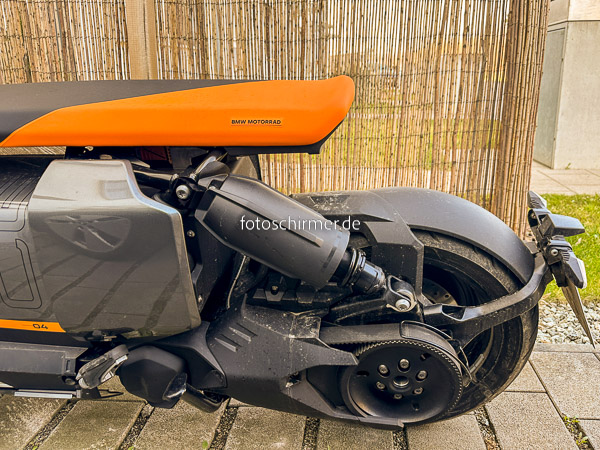
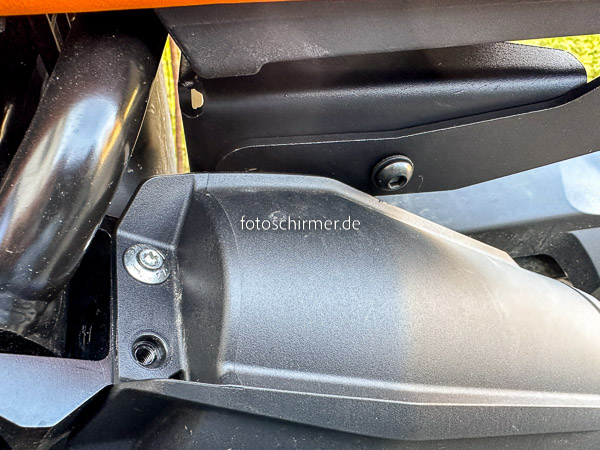
To get to all 4 (8 on both sides) screws, you need to take off the suspension-cover with 2 hex-screws. The first one (missing already in the picture below) fixes a rubber part, the second the plastic cover. They both get of fairly easy:
This gives you good access to both screws on the left side of your bike for the mounting of the top case bracket:
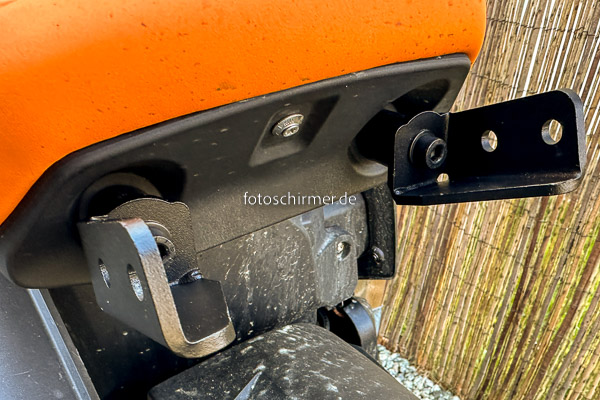
Here is where I ran into a problem: the mounting holes for the bracket and the additional metal plate (for stability) did not align at all:
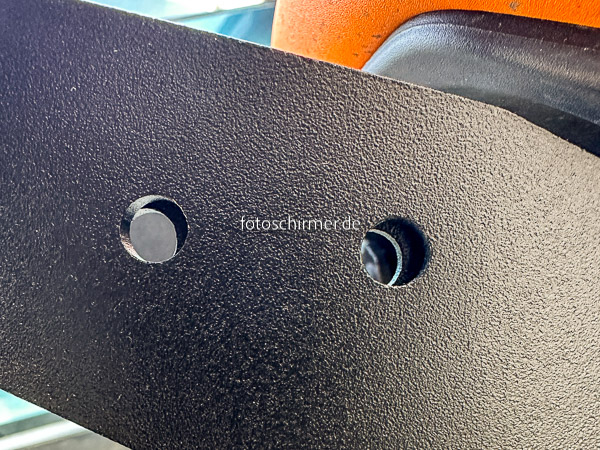
I tired loosening all the screws again, reviewed all I got from GIVI, checked forums, but I could not find anything, I did wrong. Also exchanging the 2 plates did not solve it:
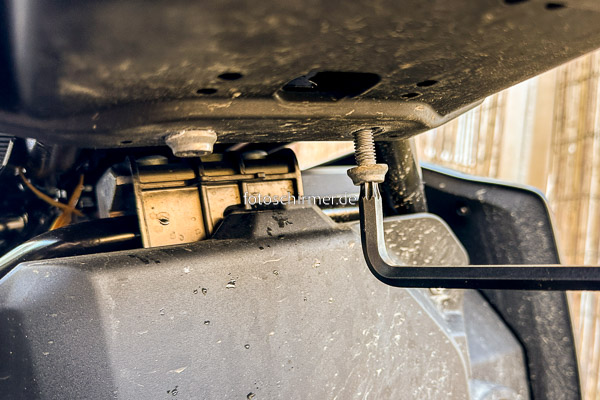
My solution: changing the mounting order – as I did not wanted to drill bigger holes or send them back to GIVI – was to unscrew the first 2 screws at the rear end of the seat and took out the metal distancer.
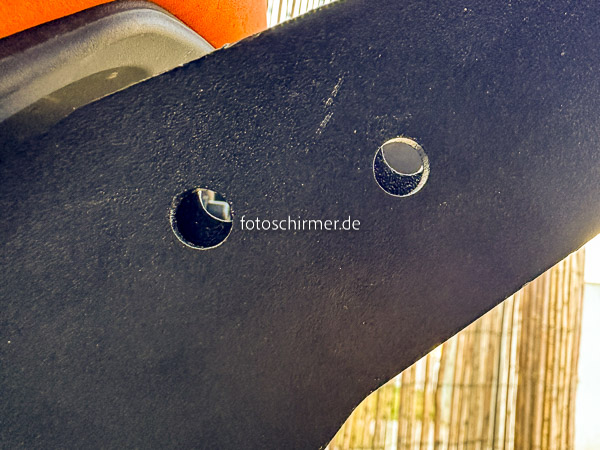
Than I loosely fixed the 2 plates with all 4 screws – upper 2 screws in the picture below:
The tricky part is now, to push the metal-distancer back into the gap between the bracket and the thread in the seat, but it worked on both sides with medium force.
Another „production-design-issue“ is that a regular hex-tool is too long to close the seat-back-end screws, which results in scratching the black coating of the metal, when screwing it in:

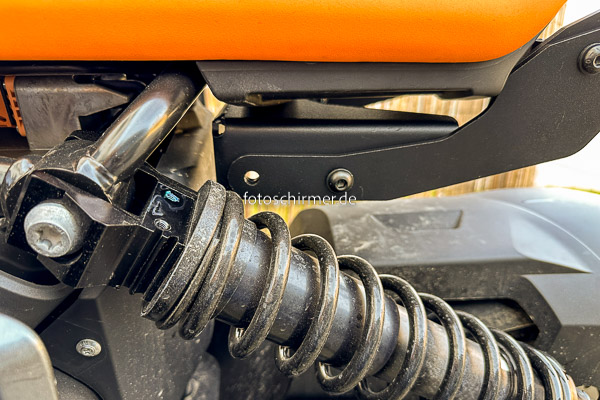
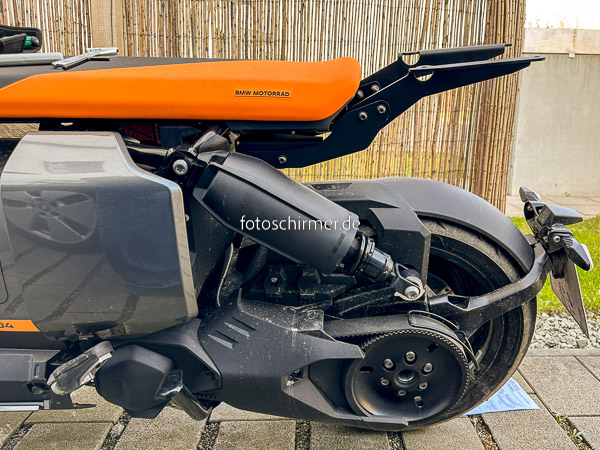
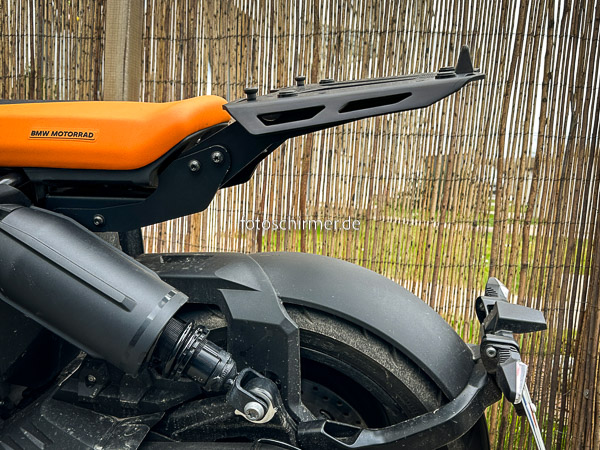
This is how it looks, when you put the suspension cover back on:
I really like the position and angle, slightly pointing upwards.
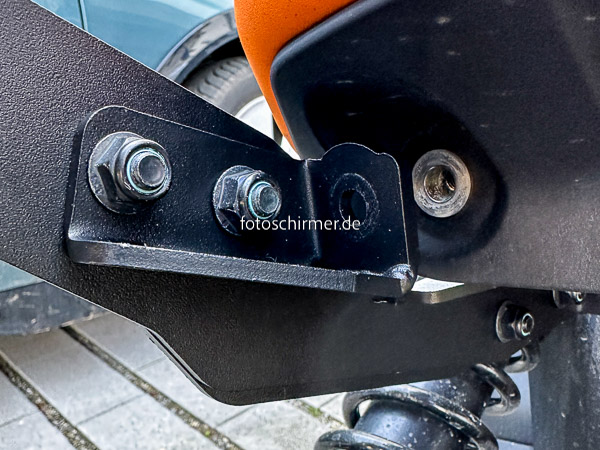
Last but not least, we put the provided 8 plastic-caps on the nut-heats. They fit tightly, so I hope they will not be vibrated off too quickly:

The screws are visible as an „additional attachment“, but the overall quality fits to the bike – it looks professional:
Mounting the plate for the GIVI top case:
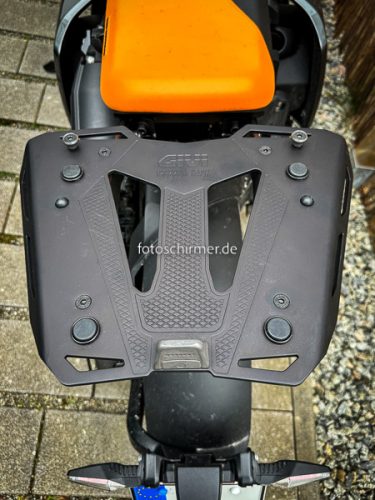
Finally we attach the correct mounting plate for the top case – I chose the black – full aluminum M8. There are other options available here: GIVI LINK
View from top – there are only 4 screws to fit the plate, 2 additional holes are closed via two rubber-stoppers:
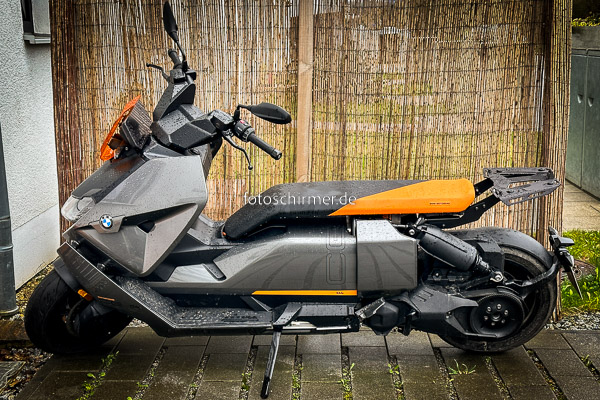
Right before the next rain fall, mounting was done and fits quite well to the bike, if the top case is off:
The top case is attached with a simple click and locked with the key (smart system – key up opens case, key down unlocks the case):

Of course the bike without that additional box looks way cooler, but I need a practical solution for groceries shopping, sports or storing a second helmet. Also for longer trips (where I need the charging cable) requires more space.
Next action will be upgrading the color design 😉 to make the top case better fit the styling.
Hope this description will help you to avoid running into the same issue (if there is a better solution – please comment, so others have less hassle)
Schreibe einen Kommentar